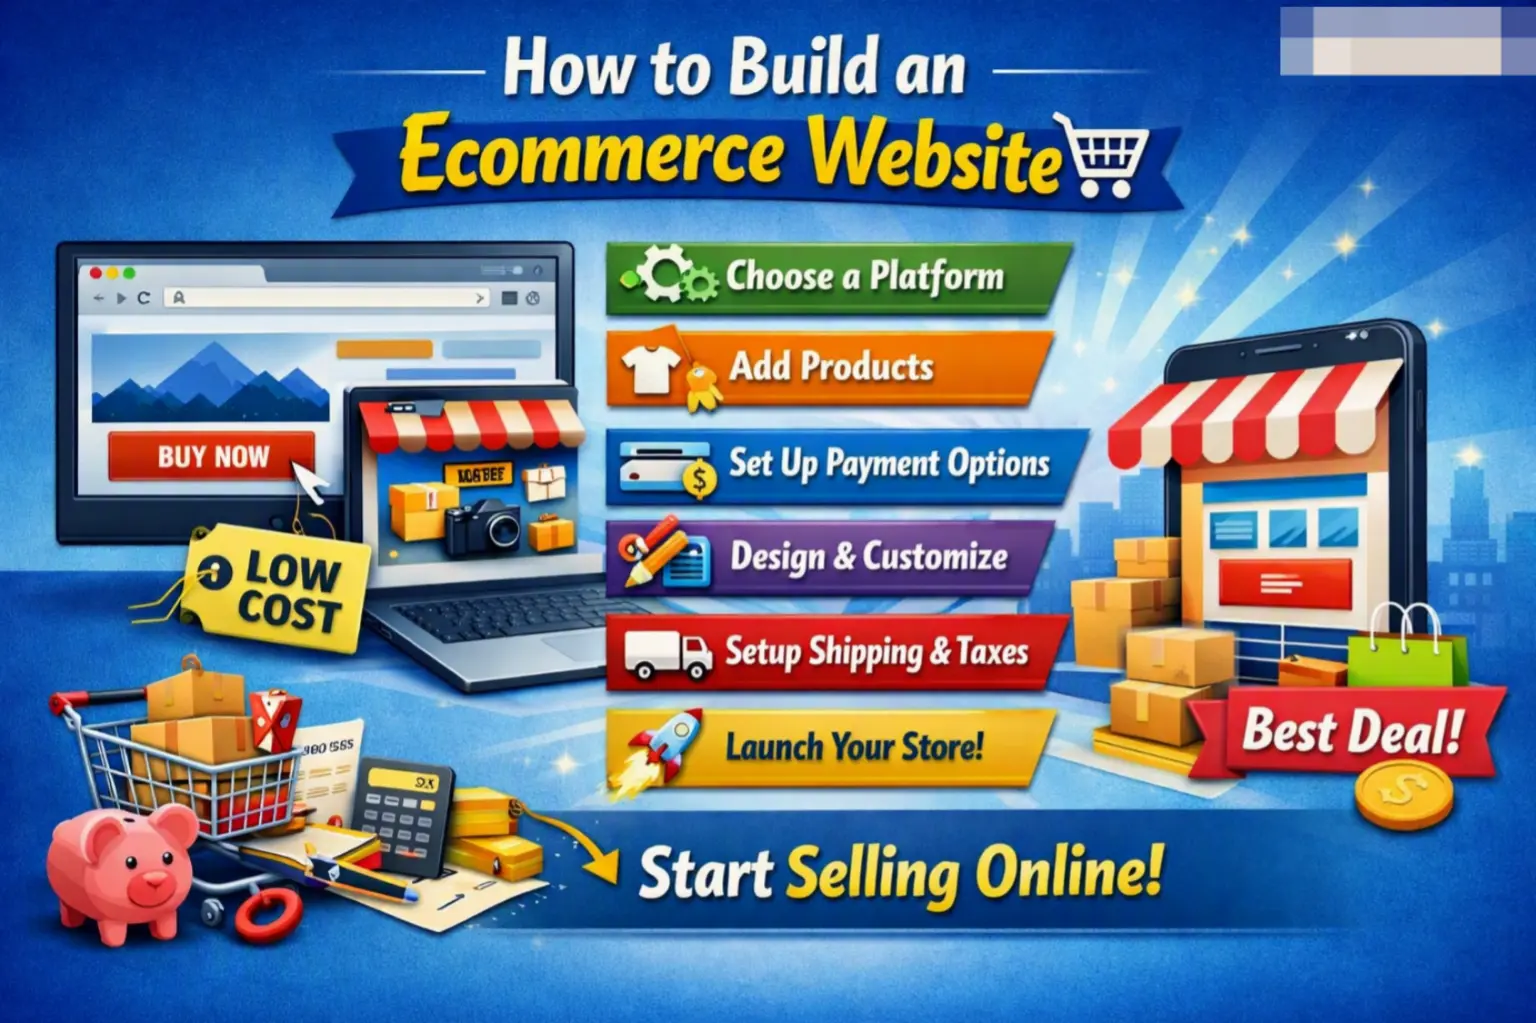
Learning how to build an ecommerce website used to mean hiring a developer and waiting months for a launch. That’s no longer true. Today, you can go from idea to a working online store in a few days, using tools built specifically for people with no coding background.
This guide walks through the entire process: choosing the right platform, setting up products and payments, and avoiding the mistakes that cause most first-time store owners to lose money before they make any. Whether you’re selling handmade jewelry or software downloads, the steps below apply to almost any online store.
Table of Contents
What Is an Ecommerce Website, Exactly?
An ecommerce website is a site that lets visitors browse products, add them to a cart, and pay for them online. Unlike a regular website that just displays information, an ecommerce site handles three extra jobs behind the scenes:
- Inventory management — tracking how much stock you have.
- Payment processing — securely charging a customer’s card or digital wallet.
- Order fulfillment — organizing what needs to be shipped or delivered, and to whom.
Think of a regular website as a storefront window, and an ecommerce website as the entire shop behind it — shelves, checkout counter, and cash register included.
Step 1: Decide What You’re Selling and Who You’re Selling To
Before touching any software, define two things clearly:
- Your product type: Physical goods, digital downloads, print-on-demand items, or services all have different requirements for shipping, tax, and fulfillment.
- Your target customer: A store selling to other businesses (B2B) usually needs bulk pricing and quote requests, while a store selling directly to consumers (B2C) focuses more on fast checkout and mobile browsing.
Skipping this step is the number one reason people pick the wrong platform later.
Step 2: Choose the Right Ecommerce Platform
This is the most important technical decision you’ll make, since it affects your costs, design flexibility, and how much daily maintenance you’ll need to do.
| Platform | Best For | Coding Needed? | Typical Cost |
| Shopify | Beginners wanting an all-in-one hosted solution | None | Monthly subscription, plus optional apps |
| WooCommerce | WordPress users who want full control and strong SEO | Some (or a developer’s help) | Free plugin; hosting and extensions cost extra |
| BigCommerce | Growing stores needing built-in advanced features | None | Monthly subscription, tiered by sales volume |
| Wix eCommerce | Small stores wanting simple drag-and-drop setup | None | Monthly subscription |
| Adobe Commerce (Magento) | Large, complex, enterprise-level stores | Yes, significant development | High — custom development and hosting |
<cite index=”17-1″>Shopify is generally considered the best overall choice for most businesses because of its ease of use, fully hosted infrastructure, extensive app ecosystem, and ability to scale from small startups to established brands</cite>, which is why it’s the most common starting point for beginners.
<cite index=”18-1″>WooCommerce remains a top choice for businesses that rely heavily on SEO and content marketing, since it’s built on WordPress and gives full control over the website, data, and codebase</cite> — a good fit if you already run a WordPress blog and want to add a store to it.
Hosted vs. Self-Hosted: What’s the Difference?
- Hosted platforms (Shopify, BigCommerce, Wix) manage the server, security, and updates for you. You pay a subscription, and the technical maintenance is handled behind the scenes.
- Self-hosted platforms (WooCommerce, Magento) give you the software, but you’re responsible for finding a web host, installing updates, and managing security yourself — or paying someone to do it.
If you want the fastest path with the least technical responsibility, a hosted platform is almost always the better starting point.
Step 3: Register a Domain Name
Your domain name is your site’s web address (like yourstorename.com). Most ecommerce platforms let you register or connect a domain during setup. A few tips:
- Keep it short, easy to spell, and easy to say out loud.
- Use a .com extension when possible, since it’s still the most trusted by shoppers.
- Avoid hyphens and numbers, which are easy to mistype.
Step 4: Pick a Theme or Template
Every major ecommerce platform offers pre-built templates, so you don’t need design experience to get a professional-looking storefront. When choosing one, prioritize:
- Mobile responsiveness — most shoppers browse and buy from their phones, so the template must resize and function well on small screens.
- Fast loading speed — heavy, image-stacked templates can slow your site down, which increases cart abandonment.
- Simple navigation — categories and search should be easy to find, especially if you have more than a handful of products.
Step 5: Add Your Products
This is where your store starts to feel real. For each product, you’ll typically need:
- A clear, high-quality photo (multiple angles if possible).
- A concise but informative product description.
- Accurate pricing, including any variants like size or color.
- Stock quantity, if you’re tracking inventory.
Practical example: If you’re selling candles, don’t just list “Vanilla Candle — $18.” Add scent notes, burn time, and jar size. Specific details reduce customer questions and returns.
Step 6: Set Up Payment Processing
Payment processing is the system that securely moves money from your customer’s card or digital wallet into your account. Most platforms support:
- Credit and debit cards
- Digital wallets like Apple Pay or Google Pay
- Buy-now-pay-later options like Klarna or Afterpay
- Direct platform payments (like Shopify Payments), which usually have lower fees than connecting a third-party processor
Always check the transaction fees — the small percentage taken from each sale — since these vary by platform and payment method, and they add up quickly at higher sales volumes.
Step 7: Configure Shipping and Tax Settings
If you’re selling physical products, you’ll need to set:
- Shipping zones and rates — flat rate, free shipping over a threshold, or real-time carrier rates.
- Sales tax rules — many platforms can calculate tax automatically based on your business location and the customer’s shipping address, but you should confirm this matches your local tax obligations.
Digital products usually skip shipping entirely but may still require tax handling depending on your location.
Step 8: Test Everything Before Launch
Before going live, place a real test order (most platforms offer a test mode) to confirm:
- The checkout process works smoothly on both desktop and mobile.
- Confirmation emails are sent correctly.
- Tax and shipping calculations are accurate.
- Payment actually processes without errors.
Skipping this step is one of the most common — and costly — mistakes new store owners make.
Step 9: Launch and Set Up Basic Marketing
Once your store is live, a few basics go a long way:
- Search engine optimization (SEO): Make sure product titles and descriptions include terms customers actually search for.
- Email capture: Add a simple newsletter signup to start building a customer list from day one.
- Social proof: Reviews and testimonials build trust faster than almost any other tactic for a new store.
Common Mistakes When Building an Ecommerce Website
- Choosing a platform based on price alone, then hitting feature limits and migrating later — often the most expensive mistake possible.
- Launching with poor product photos, which is one of the fastest ways to lose customer trust.
- Ignoring mobile experience, even though most shopping traffic now comes from phones.
- Overcomplicating navigation with too many categories before you have enough products to fill them.
- Not testing checkout before launch, leading to lost sales from broken payment flows.
- Underestimating ongoing costs, like apps, transaction fees, and marketing — the platform subscription is rarely the only cost.
Best Practices for a Successful Ecommerce Launch
- Start with a smaller, focused product catalog rather than listing everything at once.
- Use clear, benefit-driven product descriptions instead of generic marketing language.
- Offer at least two payment options to avoid losing customers who prefer a specific method.
- Keep your checkout process to as few steps as possible — every extra step increases the chance a shopper abandons their cart.
- Monitor site speed regularly, since slow load times directly hurt both sales and search rankings.
Frequently Asked Questions
How do I set up an ecommerce website with no coding experience?
Use a hosted platform like Shopify, BigCommerce, or Wix eCommerce. These provide drag-and-drop editors, built-in payment processing, and hosting, so you can build and launch a store without writing any code.
How much does it cost to build an ecommerce website?
Costs vary widely. Hosted platforms typically start with a monthly subscription plus transaction fees, while self-hosted options like WooCommerce may have lower software costs but require paying separately for hosting, security, and possibly developer help.
What is the easiest platform to create an ecommerce website?
For most beginners, Shopify is considered the easiest, since it handles hosting, security, and updates automatically, letting you focus on products and design rather than technical maintenance.
Do I need a business license to sell online?
Requirements vary by location and what you’re selling. Many regions require some form of business registration or sales tax permit once you start selling regularly, so check your local and state requirements before launching.
Can I build an ecommerce website using WordPress?
Yes. Adding the WooCommerce plugin to a WordPress site turns it into a full online store, giving you strong control over design and SEO, though you’ll need to manage hosting and updates yourself, or hire someone who can.
How long does it take to build an ecommerce website?
A simple store on a hosted platform can be built and launched in a few days to a couple of weeks. More complex stores with custom design, large catalogs, or custom development can take several weeks to a few months.